

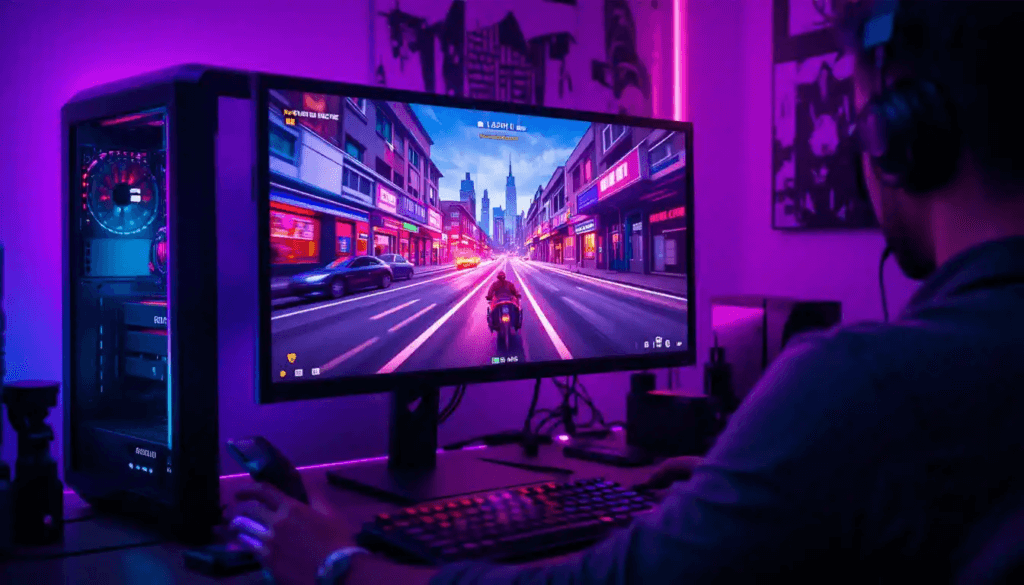
How to Optimize Your Gaming PC for 144Hz as Gaming on a 144Hz monitor can be a game-changer, delivering smooth and ultra-responsive visuals. However, just having a 144Hz display isn’t enough—you need to optimize your gaming PC to ensure it consistently pushes 144 frames per second (FPS). This guide will walk you through every step to enhance your system’s performance, increase FPS, and reduce lag for an unbeatable gaming experience.
Step 1: Check If Your System Can Support 144Hz
Table of Contents
Before making any changes, it’s essential to verify your PC’s capabilities. Running a 144Hz refresh rate requires your hardware and software to work together efficiently.
Minimum & Recommended Specs for 144Hz Gaming
- Graphics Card (GPU): NVIDIA GTX 1660 Ti / AMD RX 5600 XT (Minimum), RTX 3070 / RX 6800 XT (Recommended)
- Processor (CPU): Intel i5-10400 / Ryzen 5 3600 (Minimum), Intel i7-12700K / Ryzen 7 5800X (Recommended)
- RAM: 16GB (Minimum), 32GB (Recommended for multitasking & future-proofing)
- Storage: SSD preferred over HDD for faster game load times
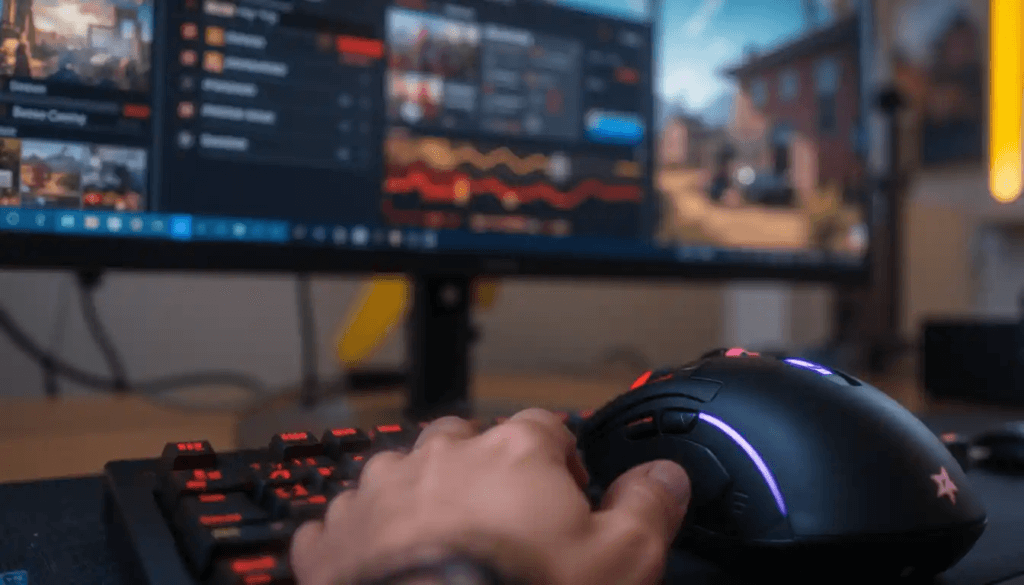
How to Check Your Current FPS Performance
To determine if your PC is hitting 144 FPS, use:
- In-game FPS counters (found in most games)
- MSI Afterburner (detailed performance monitoring)
- NVIDIA GeForce Experience / AMD Adrenalin FPS Overlay
If your system struggles to reach 144 FPS, proceed to the following optimization steps.
Step 2: Upgrade or Adjust Your Hardware
Upgrade Your GPU & CPU
For high refresh rate gaming, your GPU and CPU must be powerful enough to prevent bottlenecks. If your FPS is inconsistent, consider upgrading your:
- GPU: If your current graphics card is over three years old, it may struggle with modern games at 144Hz.
- CPU: A weak CPU can create bottlenecks, preventing the GPU from reaching its full potential.
SSD vs. HDD – Does Storage Affect FPS?
While storage doesn’t directly impact FPS, upgrading to an SSD significantly reduces game load times and stuttering, improving overall gameplay smoothness.
Ensure Proper Cooling for Stable Performance
- Check thermal paste on the CPU & GPU.
- Clean dust from fans and heat sinks to prevent thermal throttling.
- Consider aftermarket cooling solutions for better airflow.
Step 3: Set Up Your Monitor Correctly
Even with powerful hardware, your monitor must be set up properly to take full advantage of 144Hz.
Enable 144Hz in Windows & Game Settings
- Right-click on Desktop → Display Settings
- Scroll to Advanced Display Settings
- Under Refresh Rate, select 144Hz
Use the Right Cables and Ports
- DisplayPort 1.2+ (Recommended for 144Hz+ gaming)
- HDMI 2.0 or higher (Supports 144Hz at 1080p, but may be limited at higher resolutions)
- Ensure your GPU supports 144Hz output via the chosen port
Step 4: Optimize Your PC for Maximum Performance
Update GPU and Windows Drivers
Keeping your GPU drivers updated ensures the best performance and game compatibility.
- NVIDIA Users: Download updates from GeForce Experience
- AMD Users: Use the AMD Adrenalin Software
- Windows Updates: Keeping your OS updated also prevents conflicts and performance issues
Disable Unnecessary Background Applications
To free up system resources for gaming:
- Close unnecessary apps (Google Chrome, Discord overlays, etc.)
- Disable startup programs via Task Manager → Startup tab
Adjust Windows Settings for Gaming Mode
- Go to Windows Settings → Gaming
- Enable Game Mode (This prioritizes gaming performance)
- Disable Xbox Game Bar (Can cause input lag)
Step 5: Configure Game-Specific Settings
Graphics Settings That Impact FPS the Most
Tweaking in-game settings can maximize FPS while maintaining visual quality. Focus on adjusting:
- Resolution: Keep it at native for clarity, but lowering can improve FPS.
- Texture Quality: Medium-High (lowering can boost FPS without major visual loss)
- Shadows & Reflections: Lower these for better FPS.
- V-Sync: Disable to reduce input lag (use G-Sync/FreeSync if available).
Step 6: Advanced Tweaks for Extra FPS
Overclocking GPU and CPU Safely
Overclocking can squeeze out extra performance but must be done carefully.
- Use MSI Afterburner for GPU overclocking
- Use BIOS settings for CPU overclocking (if supported)
- Monitor temperatures to avoid overheating
Step 7: Troubleshooting Common Issues
Why Your Game Isn’t Running at 144Hz
- Check if 144Hz is enabled in Windows & game settings
- Ensure G-Sync/FreeSync is properly configured
- Make sure your cables support high refresh rates
Fixing Input Lag and Reducing Screen Tearing
- Use G-Sync (NVIDIA) or FreeSync (AMD)
- Turn off V-Sync to improve responsiveness
- Reduce in-game settings to maintain stable FPS
Bonus: Essential Maintenance Tips
Regular Cleaning and Thermal Paste Replacement
- Dust buildup can cause overheating and FPS drops
- Replace thermal paste on CPU/GPU every 2-3 years
Best Practices for Keeping Your Gaming Rig Performing at Its Peak
- Restart your PC at least once a week
- Keep drivers & Windows updated
- Avoid installing unnecessary software that may slow down performanc
Conclusion: Your Optimized Gaming Setup
By following these step-by-step optimizations, your gaming PC will be fully optimized for 144Hz gaming, delivering smooth gameplay, higher FPS, and reduced input lag. Experiment with different settings and tweaks to find what works best for your specific setup.
Now, go enjoy ultra-smooth, high refresh rate gaming at its best! 🎮🔥